I have a confession to make: I love carbs. Bread, pasta, rice – I love it all! You will never see me turn down a basket of bread sticks or a big bowl of noodles. I believe one of the most wonderful smells in the whole world is of freshly baked bread!
Mr. C usually takes a ham sandwich for his lunch when he leaves for work and is particularly fond of Honey Wheat Bread, but the brand he likes can run around $3 a loaf at the grocery store. In my opinion, that is too much to spend on bread! So I found a fantastic and easy recipe as an alternative. It is safe to say that this bread beats store bought bread by a mile!
Honey Wheat Bread (makes 1 loaf)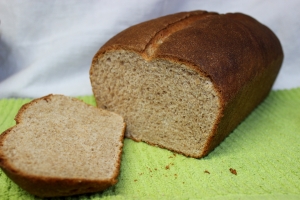
- 1 1/4 cups warm water
- 3 T honey
- 2 t yeast
- 3 T olive oil
- 1/2 T salt
- 1 1/2 cups whole wheat flour
- 2-3 cups all purpose flour
Mix warm water, honey, and yeast in a large bowl. Allow to set until yeast activates and gets foamy. This may take 5-10 minutes. Stir in olive oil and salt. Add whole wheat flour and mix thoroughly. Begin adding all purpose flour a little at a time until you can no longer stir the dough with a spoon (or your mixer starts to struggle). Turn out the ball of dough onto a floured surface. Knead the dough, gradually adding more flour, until it is soft and elastic, but not sticky. Place the dough in a bowl and cover loosely. Let set until it has doubled in size (between 30-45 minutes). Punch down dough and shape into a loaf, then place in a greased loaf pan. Cover and let double in size again (another 30-45 minutes). Preheat oven to 400 degrees. Cut a slit down the center of the loaf and bake for 30 minutes. Allow bread to cool completely before storing in an airtight container.
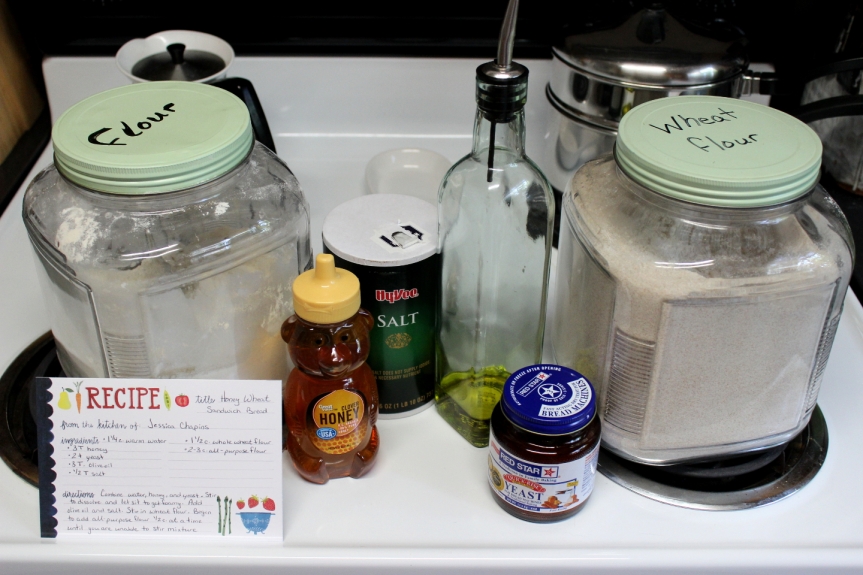 Here are our cast of characters! This bread recipe is ridiculously easy; I feel like I am cheating. I find it is easier to measure out the honey and the olive oil into small ramekins before adding it to the mixing bowl.
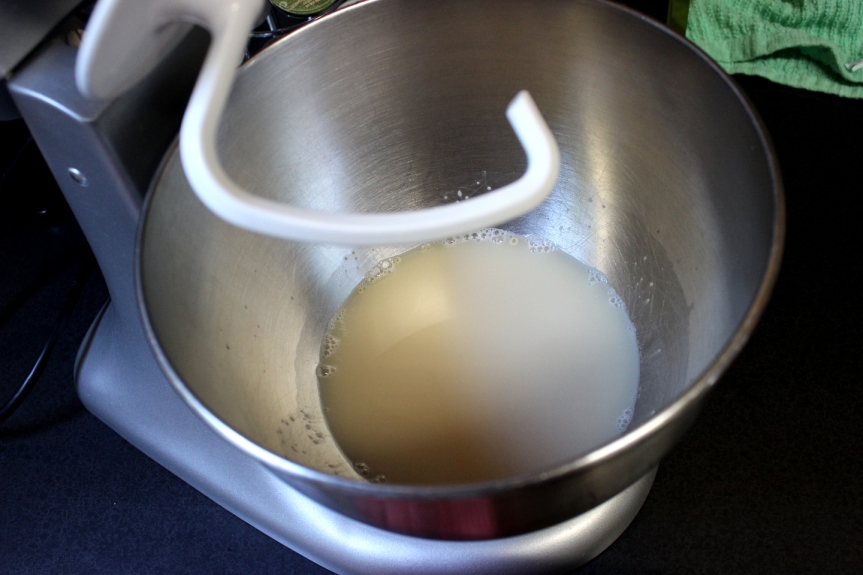 Mix the water, yeast, and honey in your bowl. I used my KitchenAid with a dough hook to mix up this beauty. Remember that yeast is alive, you want the water to be warm enough to activate the yeast but not too warm. If the water is too hot for you, it is too hot for the yeast.
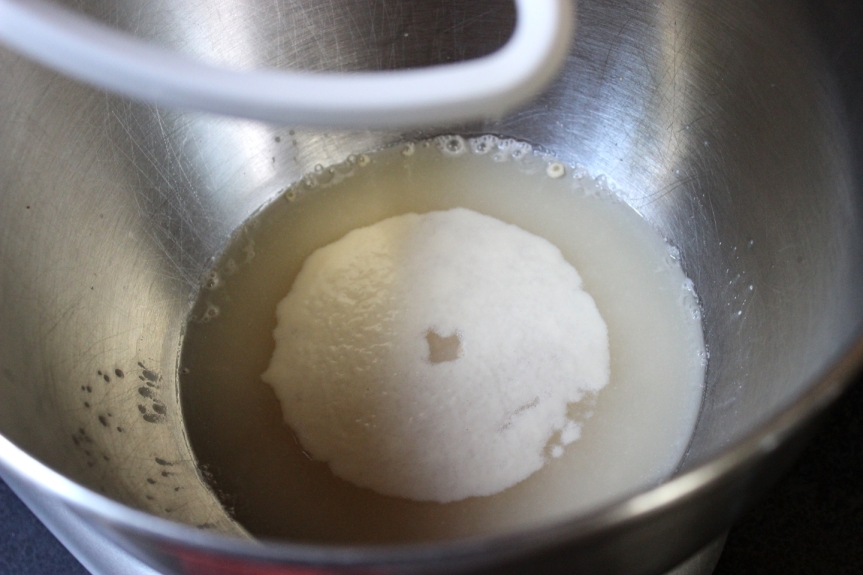 Something is going on here! Now this bowl is ready for the rest of our ingredients.
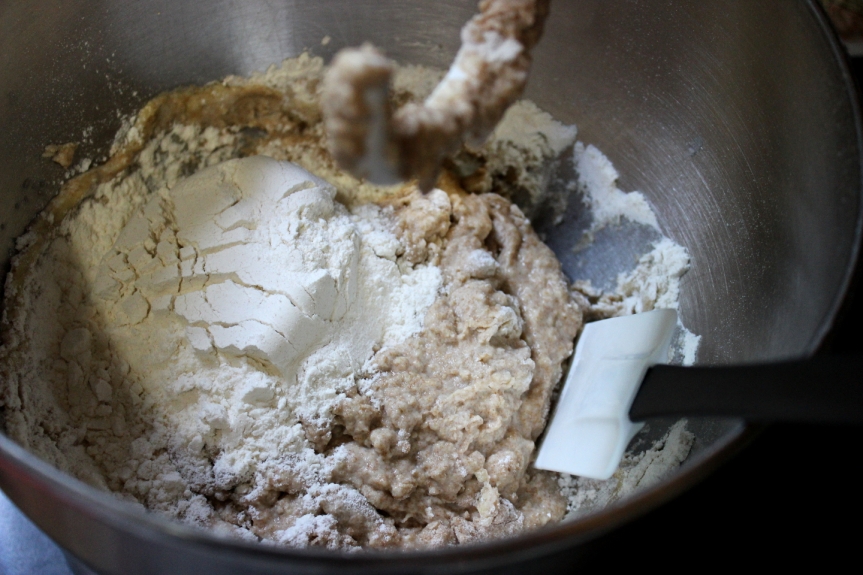 Stir in the olive oil, and salt. Then mix in the whole wheat flour. Now, begin adding the all-purpose flour a little at a time. I got ahead of myself and forgot a couple of photos in between, this photo was taken after I had added about 1 cup of all-purpose flour. I also kept a rubber spatula handy to scrape down the sides of my bowl periodically.
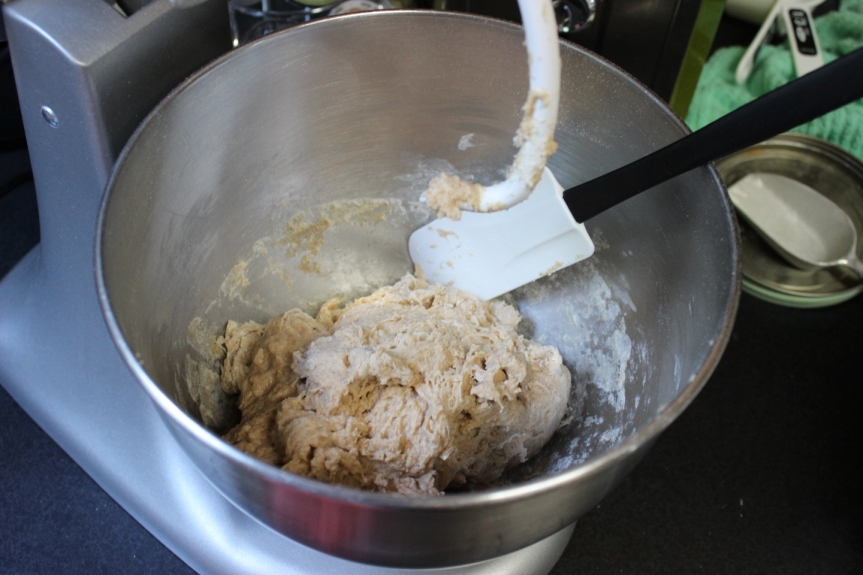 This was after adding around 1 3/4 cups all-purpose flour and my mixer was beginning to struggle. If you are stirring by hand, stop when you cannot stir with a spoon anymore. My mixer began wobbling a bit so I decided this was a good time to take out the dough and begin kneading it by hand.
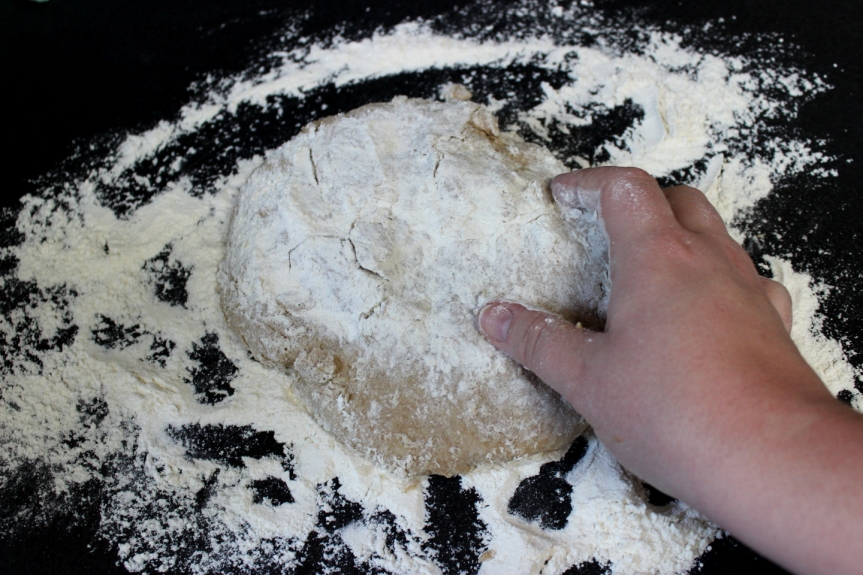 Place your ball of dough on a floured surface and begin kneading in more flour. I kneaded my dough for at least 15 minutes. Ouch, my hands were good and sore by the time it was finished. Oh, and make sure you wipe the flour off your camera after taking this picture. Whoops!
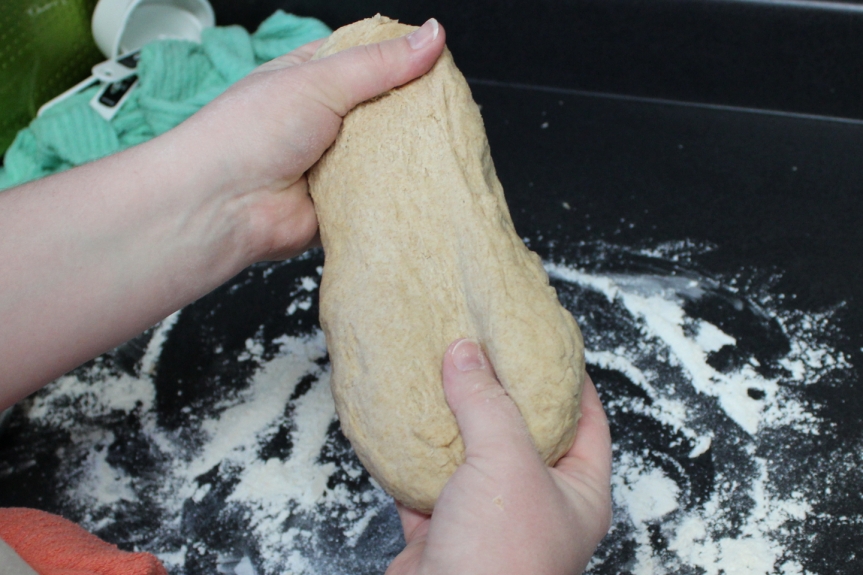 Your dough is ready when it is soft, elastic, and not sticky. Look at that beautiful soon-to-be loaf of bread!
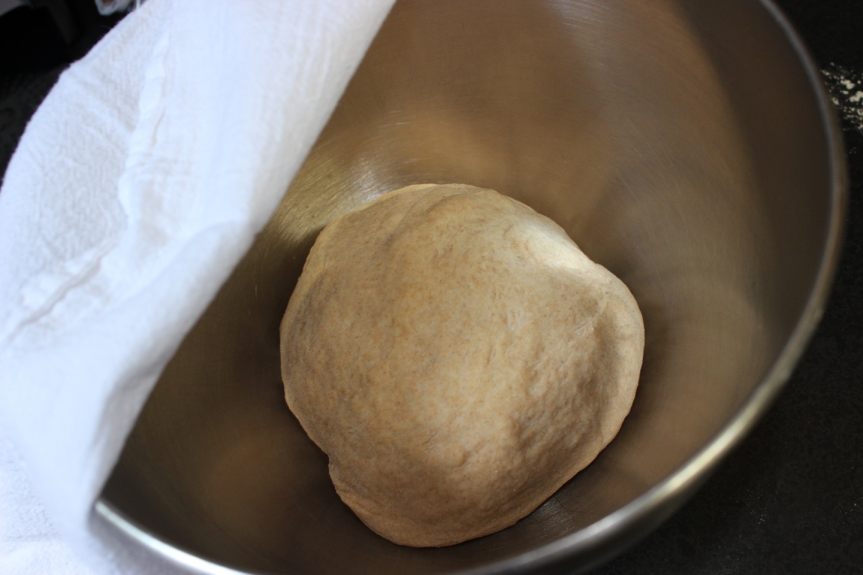 Place your beautiful ball of dough in a clean bowl and loosely cover, let that rest until it has doubled in size. I waited around 40 minutes. I was so excited, I kept peaking under the cover to see how it was coming along.
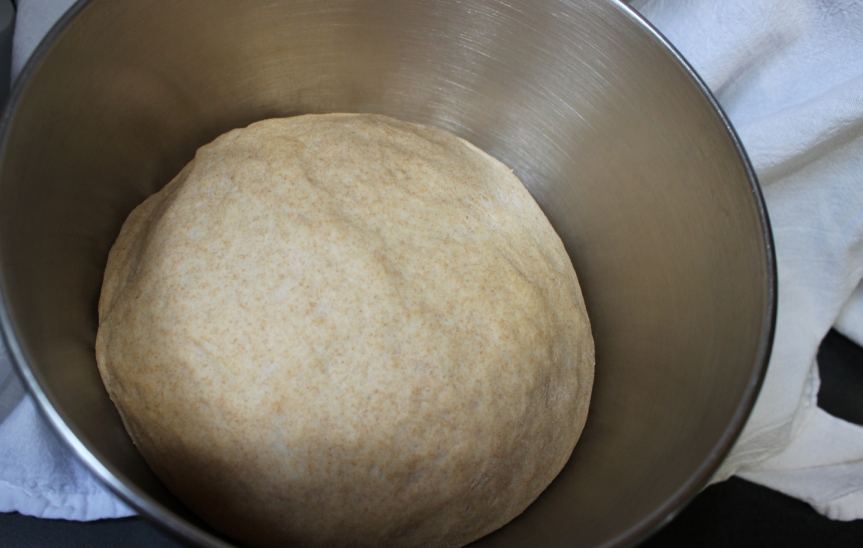 Oh my goodness look at that! This is the picture of beauty.
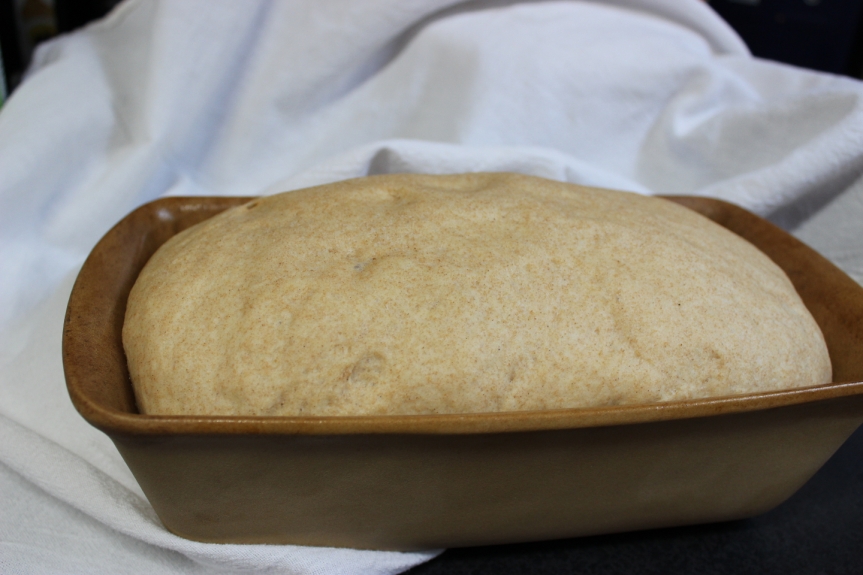
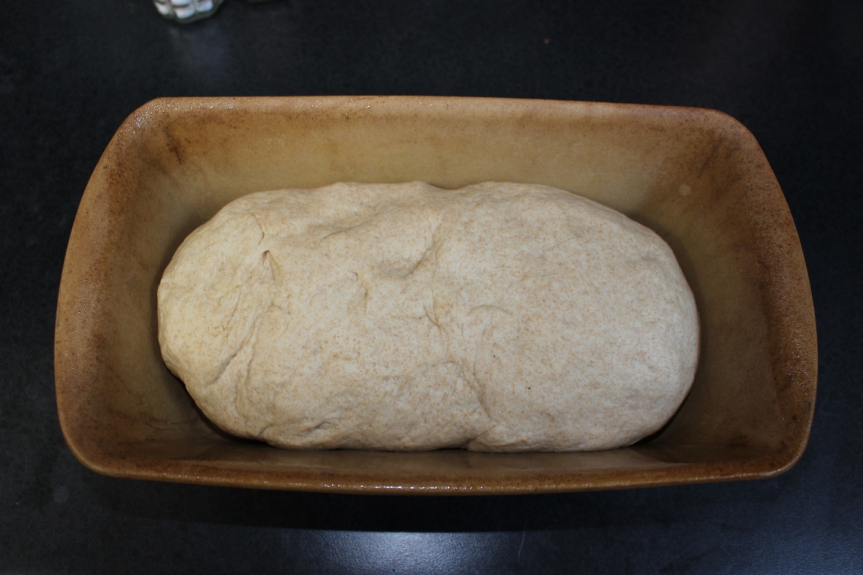 Punch down the dough and shape into a loaf. Place it into a greased loaf pan. Cover and let double in size again. This time around I waited only 30 minutes because I had it sitting next to my warm oven.
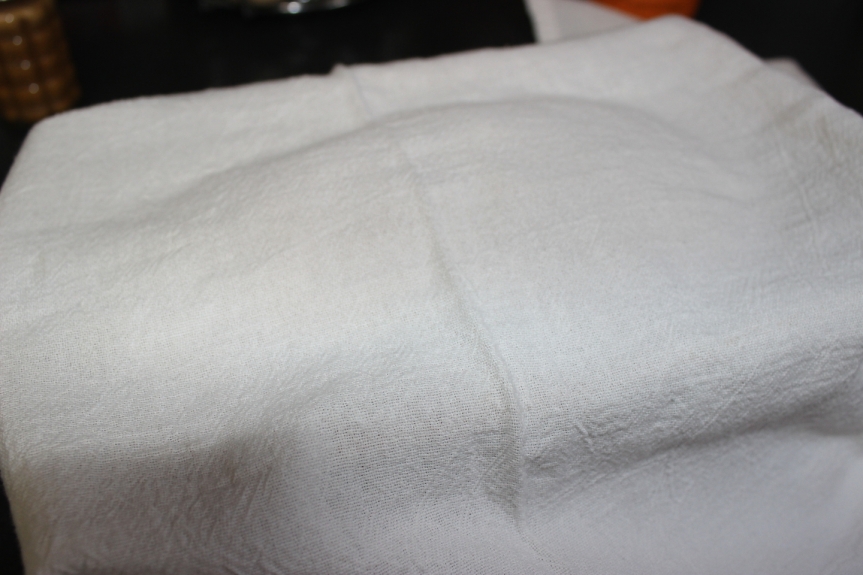 Magic is happening under this towel!
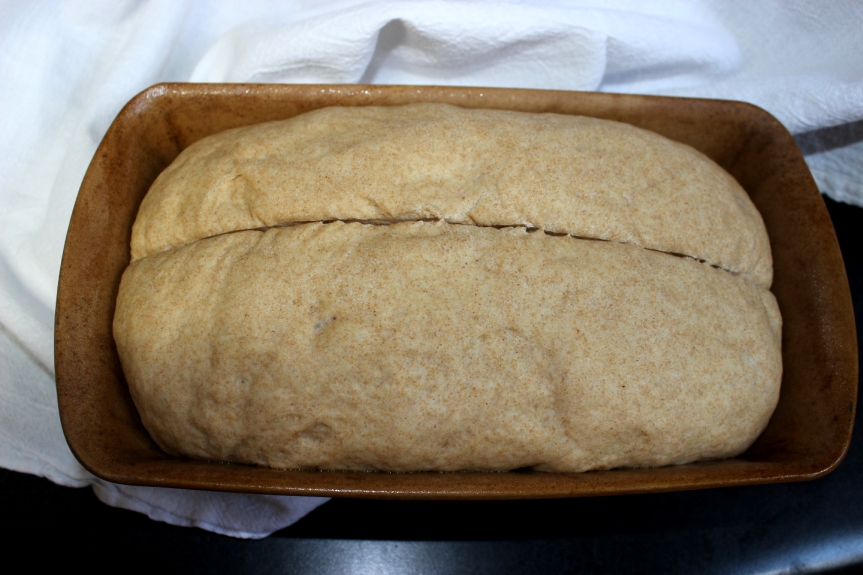 Use a sharp knife to cut a slit down the top, this will help as the bread expands.
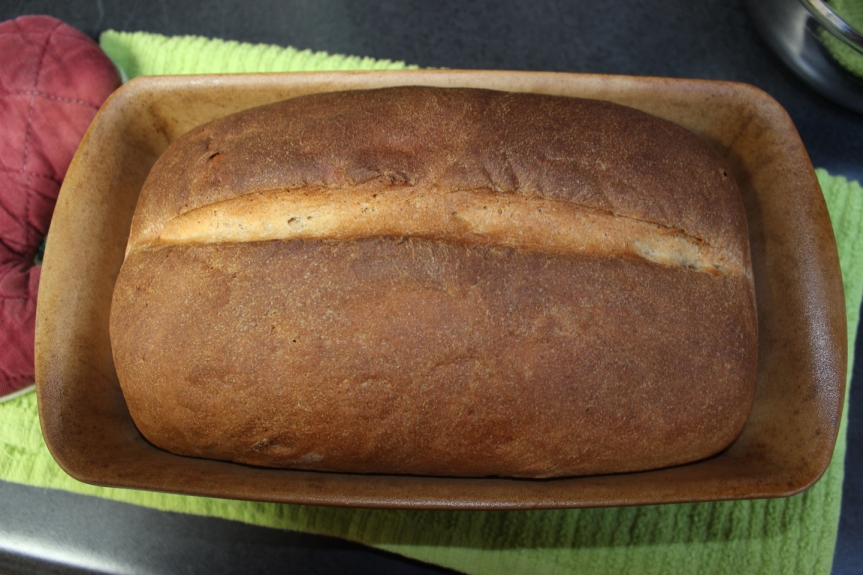 Place in a preheated 400 degree oven and bake for 30 minutes. You want a nice golden crust. To be absolutely sure that your bread is cooked through, tip the bread out of a the pan and tap the bottom. When you tap the bottom you know your loaf is cooked through if it sounds nice and hollow. Every oven is a little different. Mine likes to surprise me sometimes!
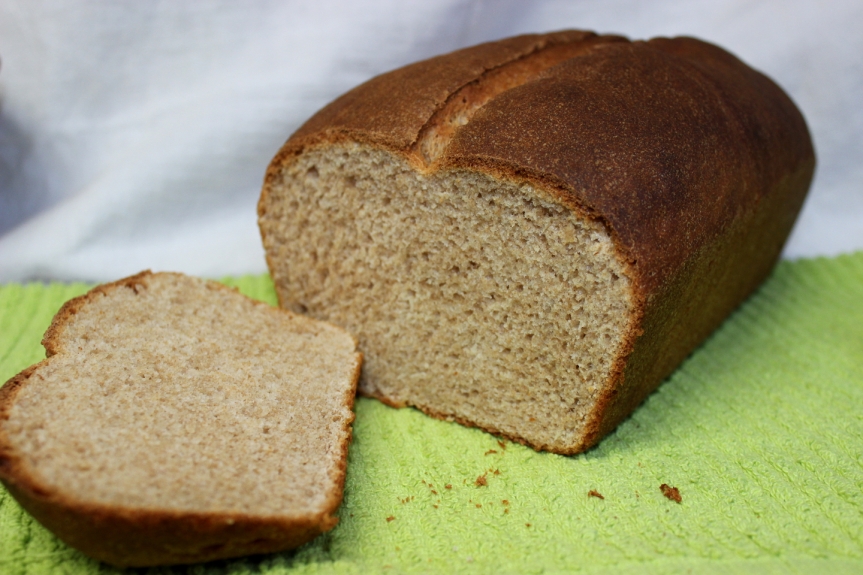 To help my bread stay fresh longer, I allow it to cool completely and then seal it in a large ziploc bag before storing it in the refrigerator. If you find your bread is a little tough after being stored in the refrigerator, a few seconds in the microwave will soften it right up.
Do you have a favorite bread recipe? If so, share it with me! I am always looking for new and exciting recipes to try!


